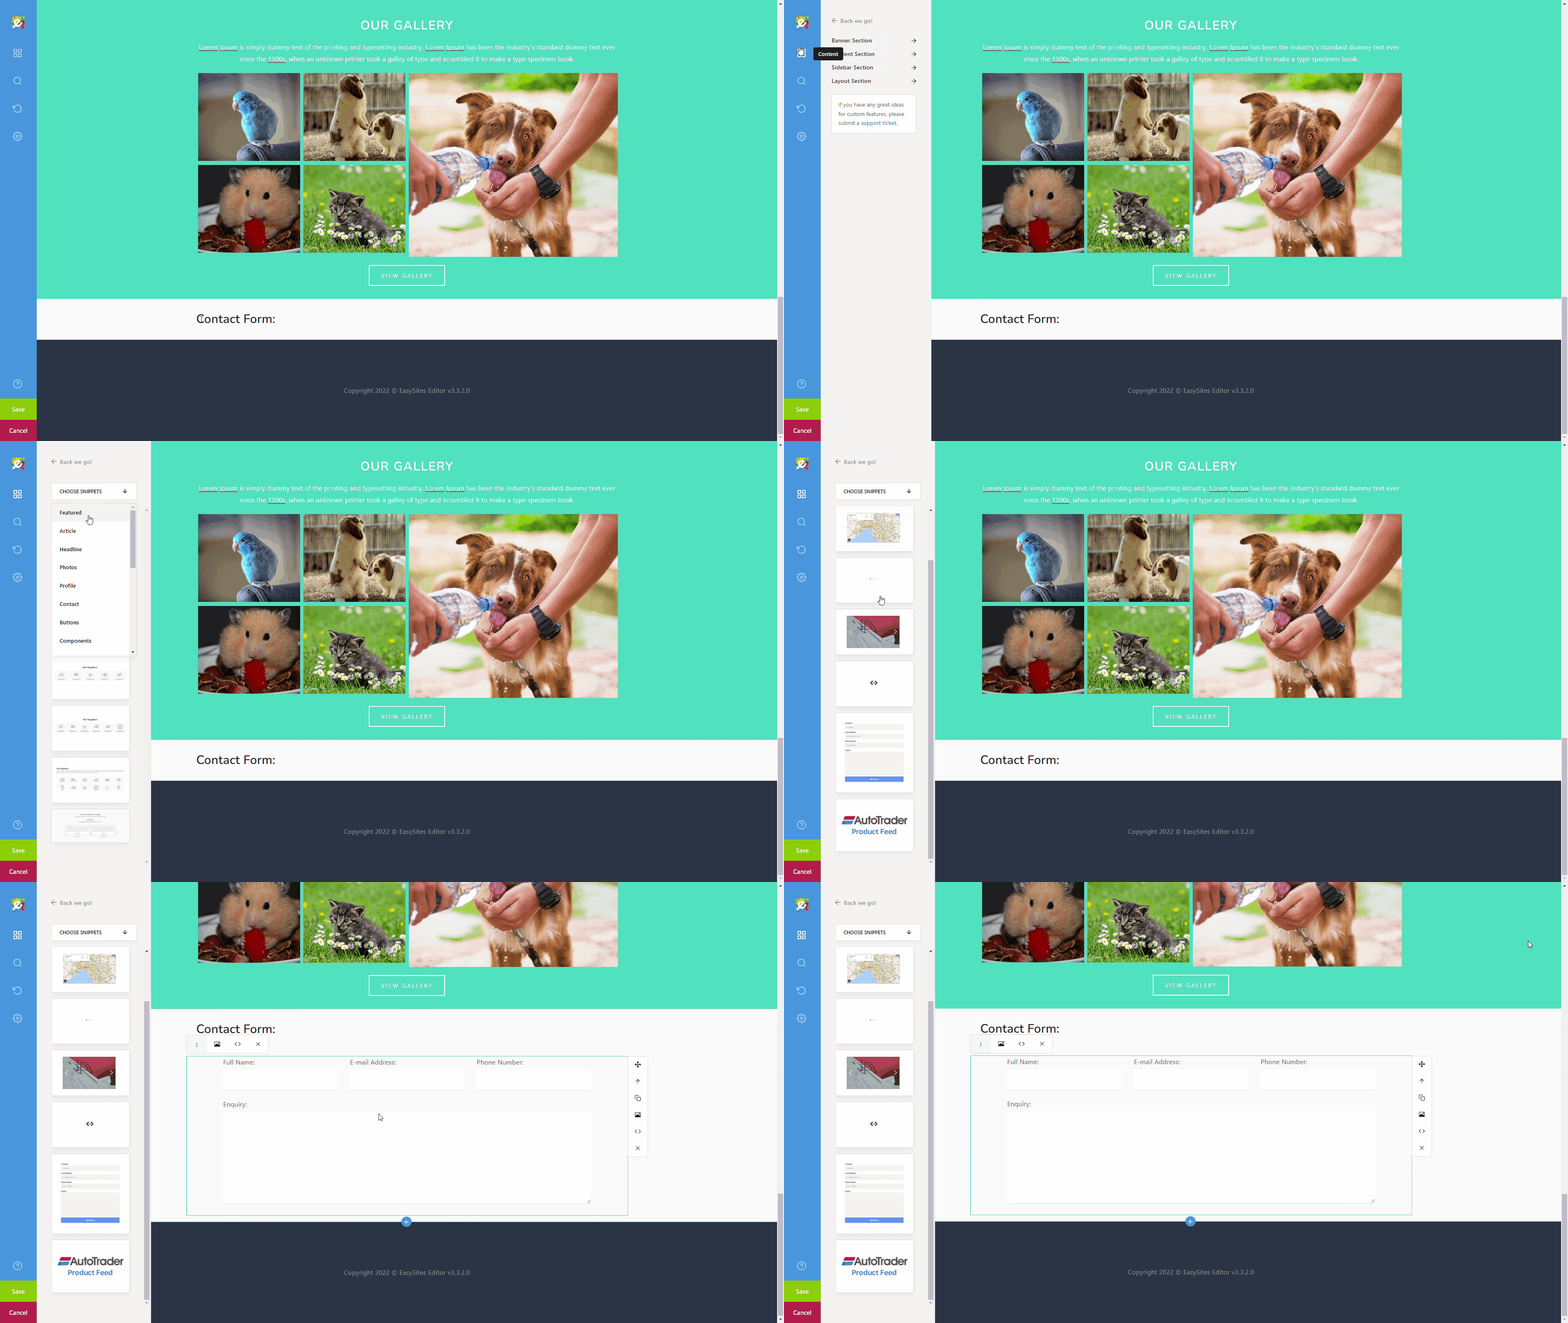
Contact forms are useful additions to a website; they offer a convenient option for potential customers to make an enquiry and generating leads. In this tutorial we will show you how you can add one to your website.
Before We Start
Please start by navigating to the website you wish to edit by logging onto Easysites. If you have forgotten your log in details, you can reset them by following our Forgotten Passwords tutorial or simply get in touch and we can help.
Content Section
There are several places where you can add a contact form. We would recommend adding at least 1 every website, but having no more than 1 every page.
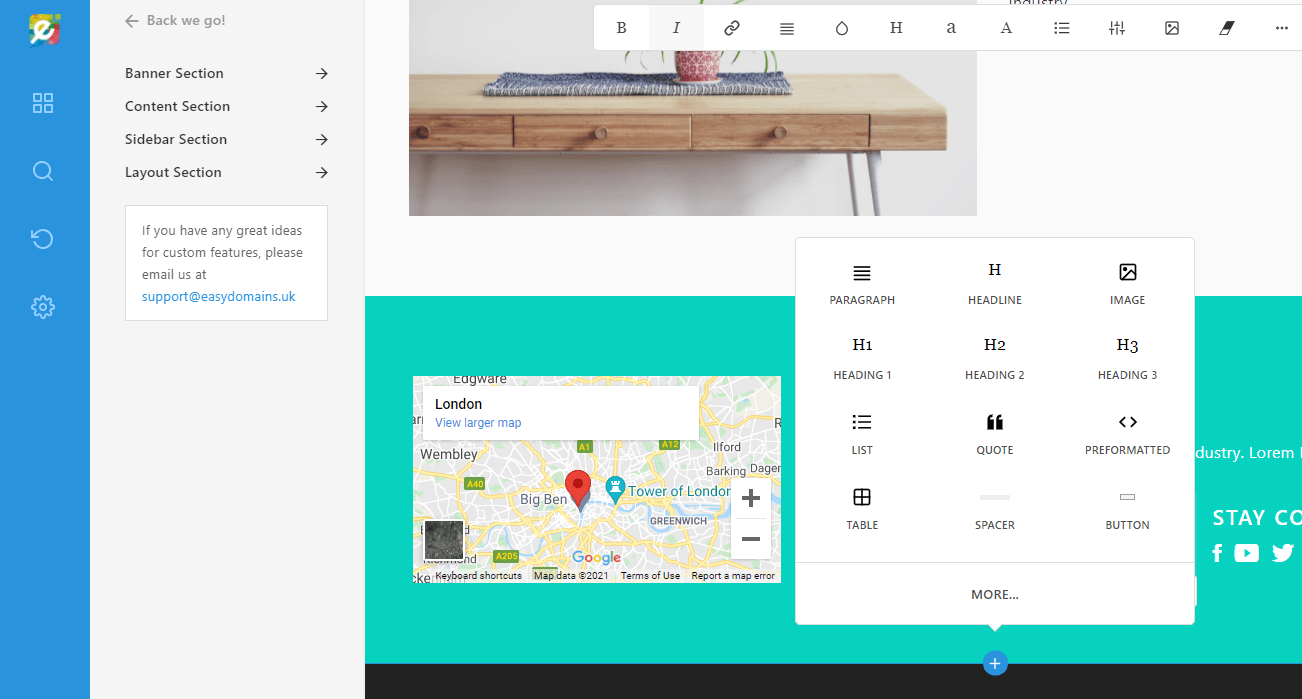
The pre-set contact form can be found in the Content Section, which you can either access by selecting “More…” in the quick add menu, or by selecting the Contents icon (4 squares) via the sidebar on the left:

Components
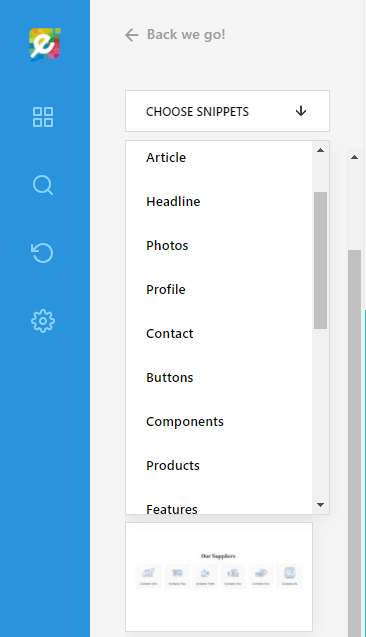
In the dropdown menu, please change the category to “Components”.

Adding Contact Form
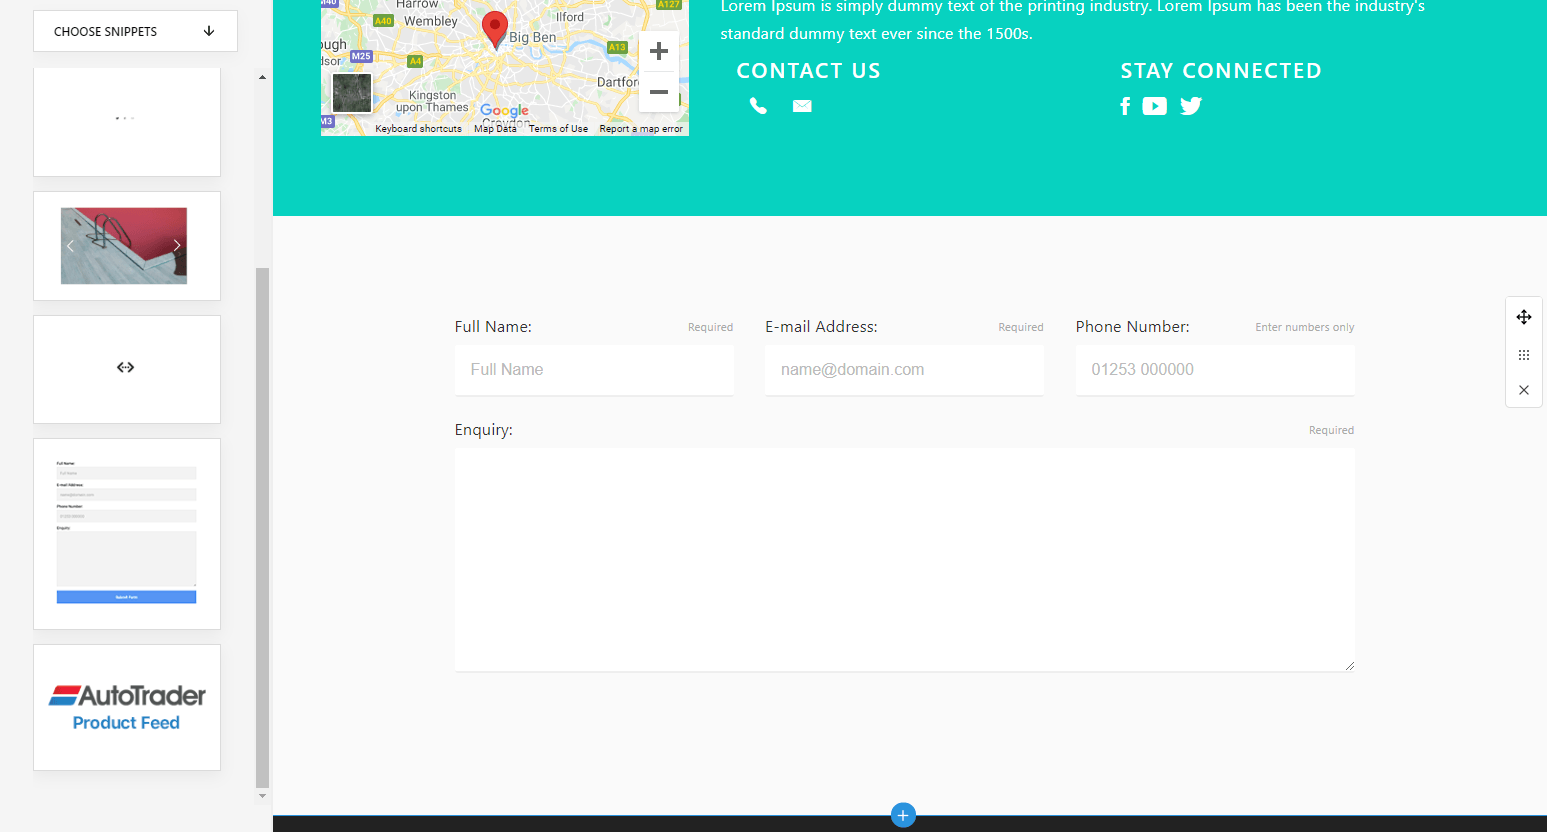
Simply click on the standalone contact form block to add it to your page.

Please note that you won’t be able to see the “Submit Form” button from within the Editor- this is normal, it will be visible on the live page.
To create your own custom contact / enquiry form, please see our tutorial here.
Or, rather than adding a full contact form to every page, you might choose to add a contact to the sidebar of the internal pages - our Sidebar Section tutorial is available to help with this option.
Need Help?
If you have any difficulties following this tutorial, or if you have any questions, please let us know and we will be more than happy to help.
