
If your business has a physical shop for customers to visit, you might consider adding a Google Map block to your website to give clear directions. In this tutorial we will show you how you can add this.
Content Section
As usual, please first log in on easysites.uk to and navigate to the website you wish to edit. If you need any help with this process, for example, if you have forgotten your password, we have a tutorial here to help you reset this. Alternatively, feel free to get in touch and we will be more than happy to help.
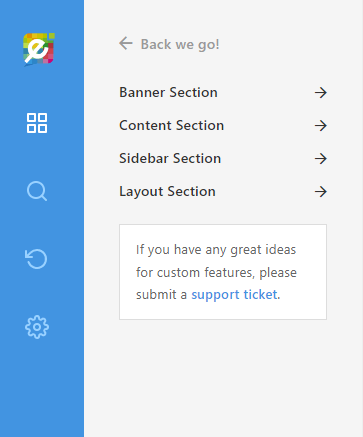
After logging in, please select the page you wish to edit to enter the Editor. From the Editor, please open the Content section (symbol with 4 squares) and select “Content Section”.
Components
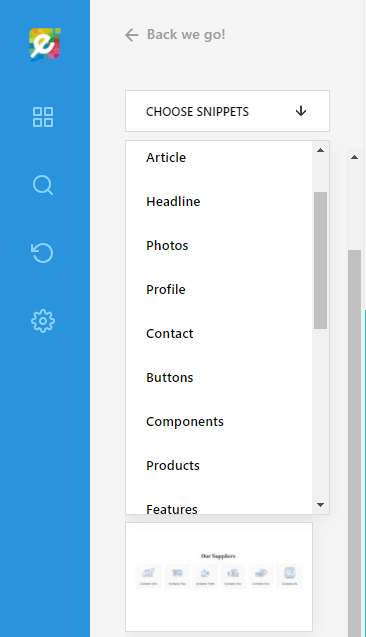
Change the dropdown category to “Components”
Adding Map
Click on the Map block to add it to your page!
Open Google Maps
First, navigate to Google Maps and bring up your business:

Embedding Map
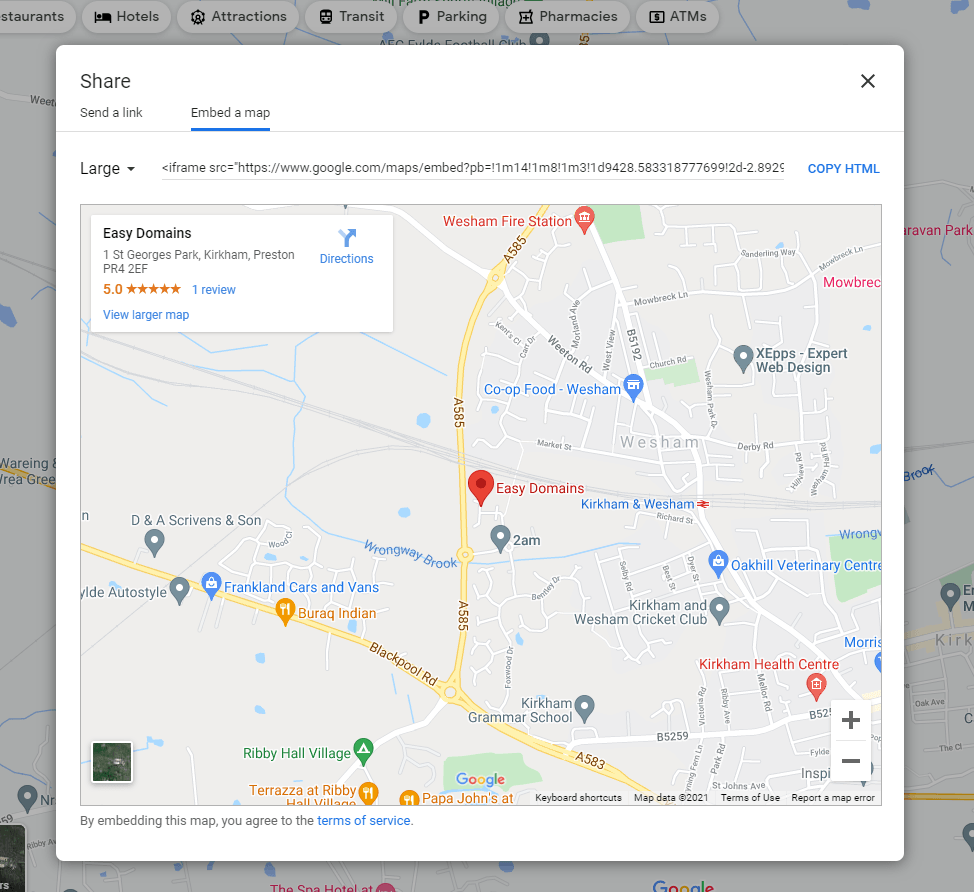
Click on “Share” to bring up a pop-up window, then select “Embed a Map”. You will then be able to customise the size of the map you wish to embed. Once you’ve chosen, press “Copy Html” towards the top right of the window.
Adding Business Location
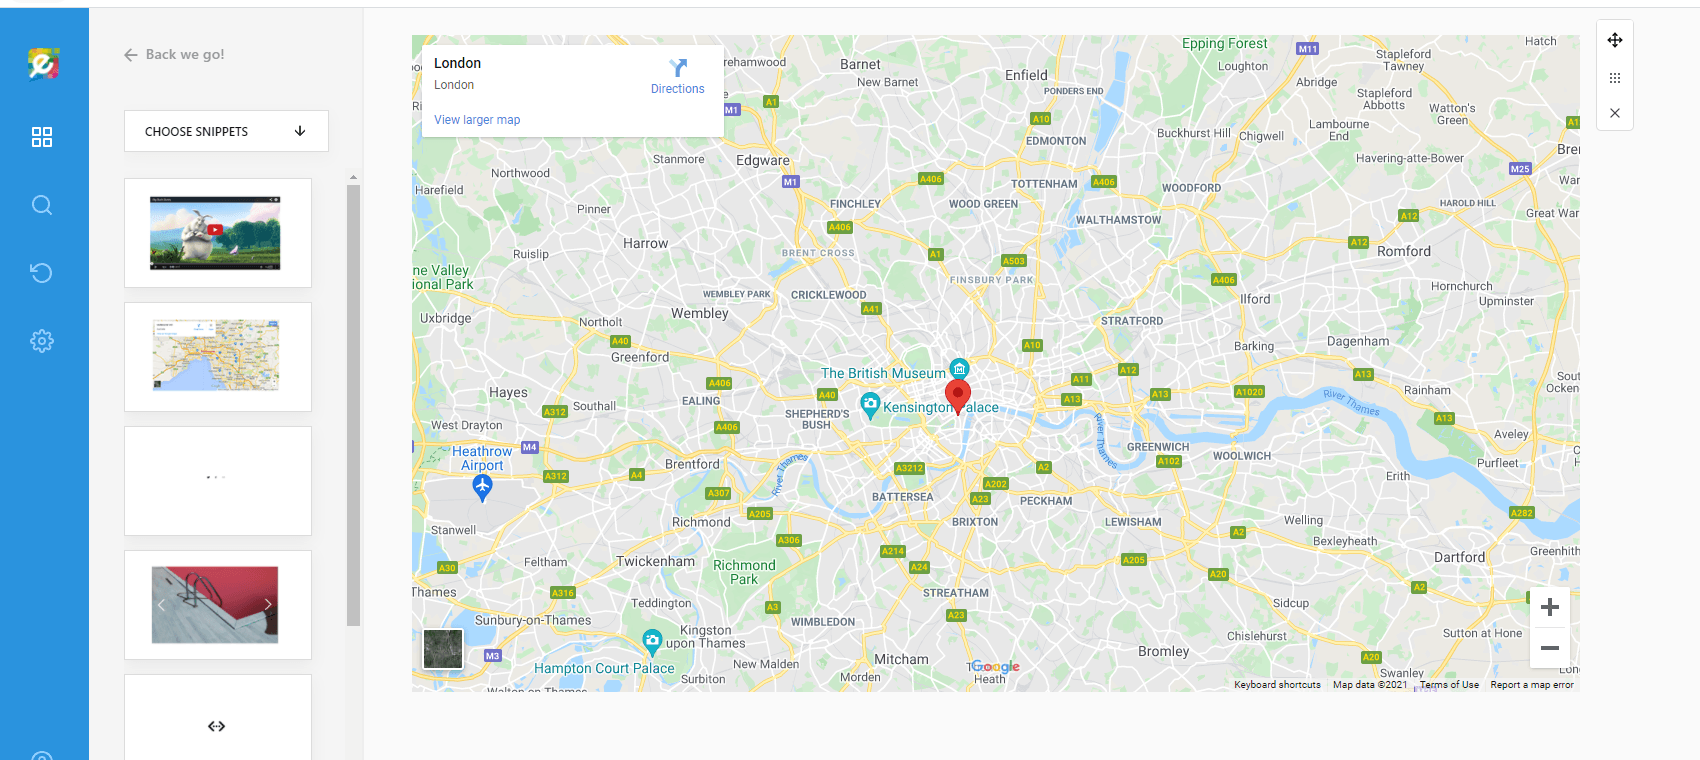
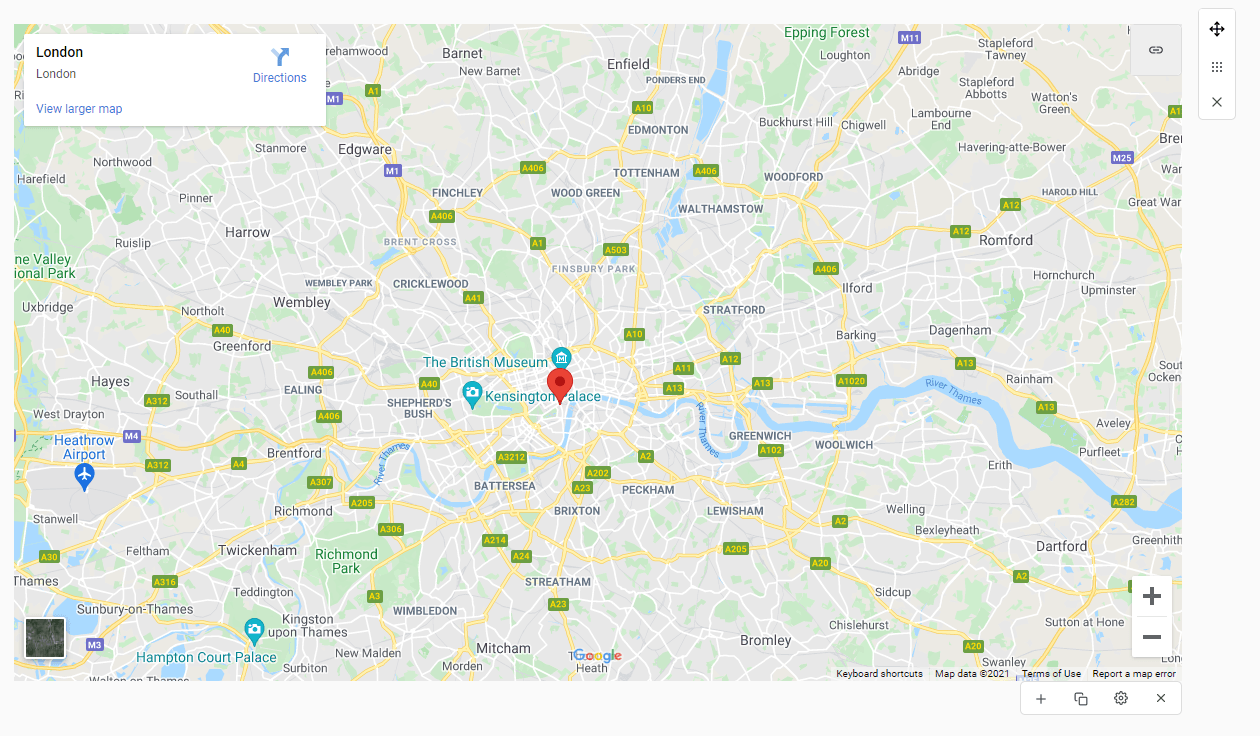
Going back to the Editor, single click on map section to bring up the link icon on the top right (highlighted):
Saving Changes
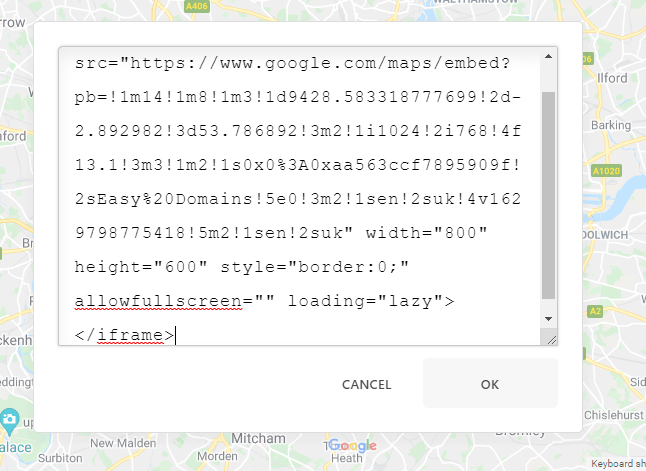
The link icon will bring up a modal window with the default HTML; delete this and paste in the HTML you copied from Google Maps from Step 5, then click “OK” to save your work.
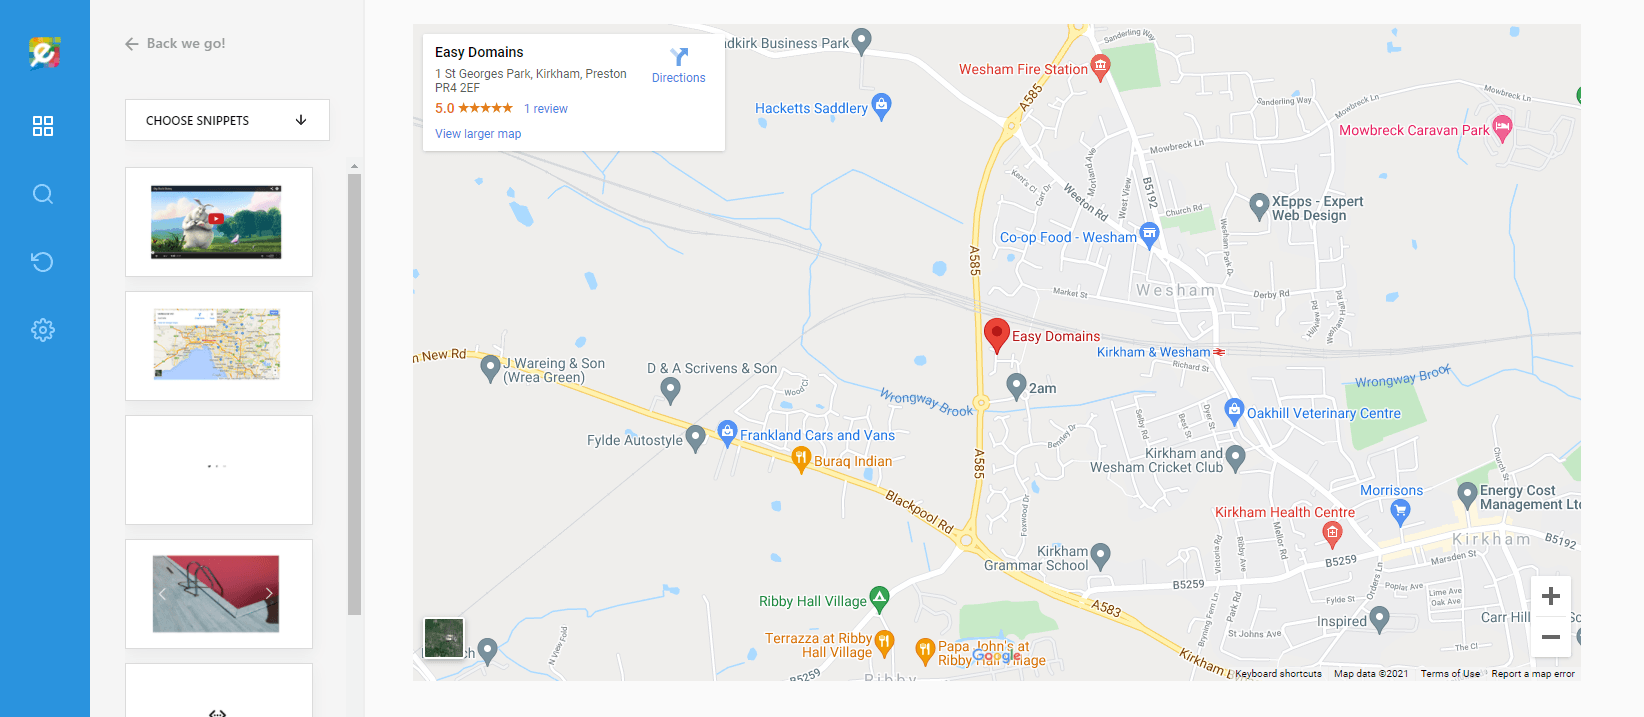
And we’re done! This should immediately update the map to show the location of your choosing:
Need Help?
If you need any help navigating this tutorial, or need help working out Google Maps, please don’t hesitate to get in touch and we will be more than happy to help.