

This guide will walk you through the process of creating a custom email address in Easy Sites. We will start from the login screen to cater for new users.
Step one will walk you through the process of logging into Easy Sites and navigating to the email address section. If you already know how to do this, please skip to step two.
Logging In
Navigating to the Email Section
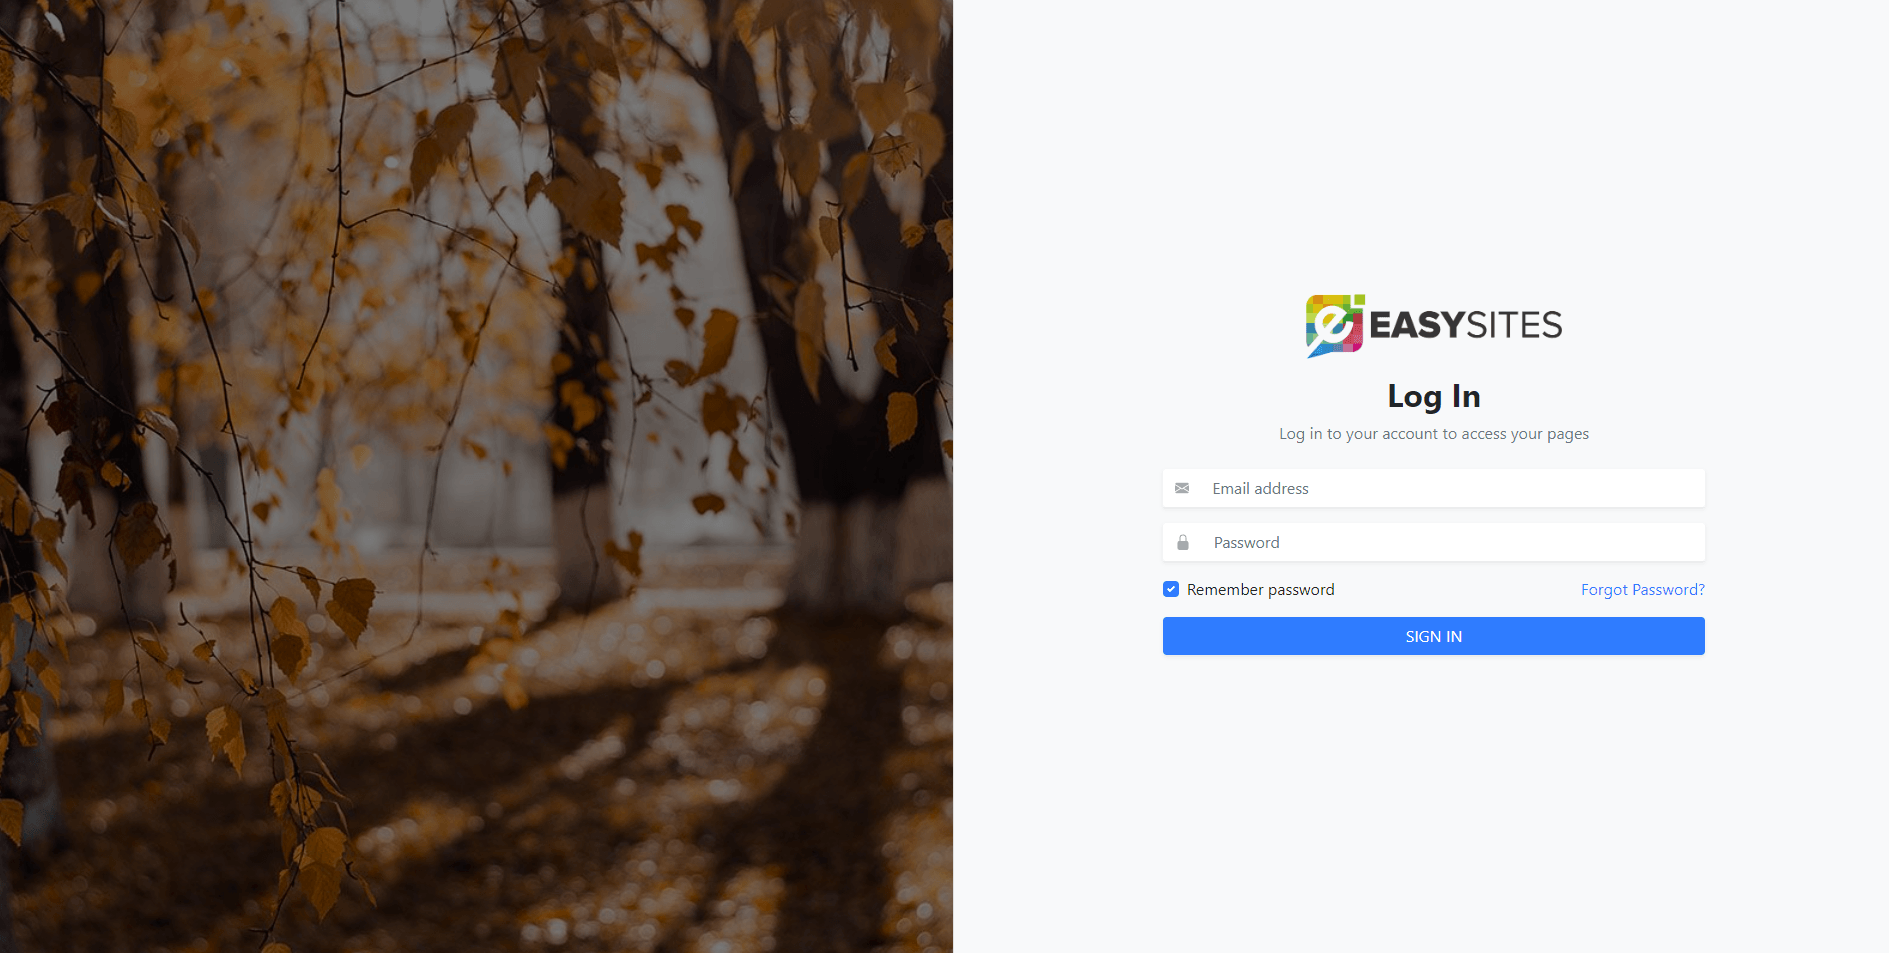
Let's start by navigating to the Easy Sites sign-in page and clicking the "Login to your account" button. Once pressed you will be presented with a login screen where you can enter the email address and password provided by Easy Sites. If you do not have access to your email address and password, please follow our Forgot Password tutorial.
Domain Menu
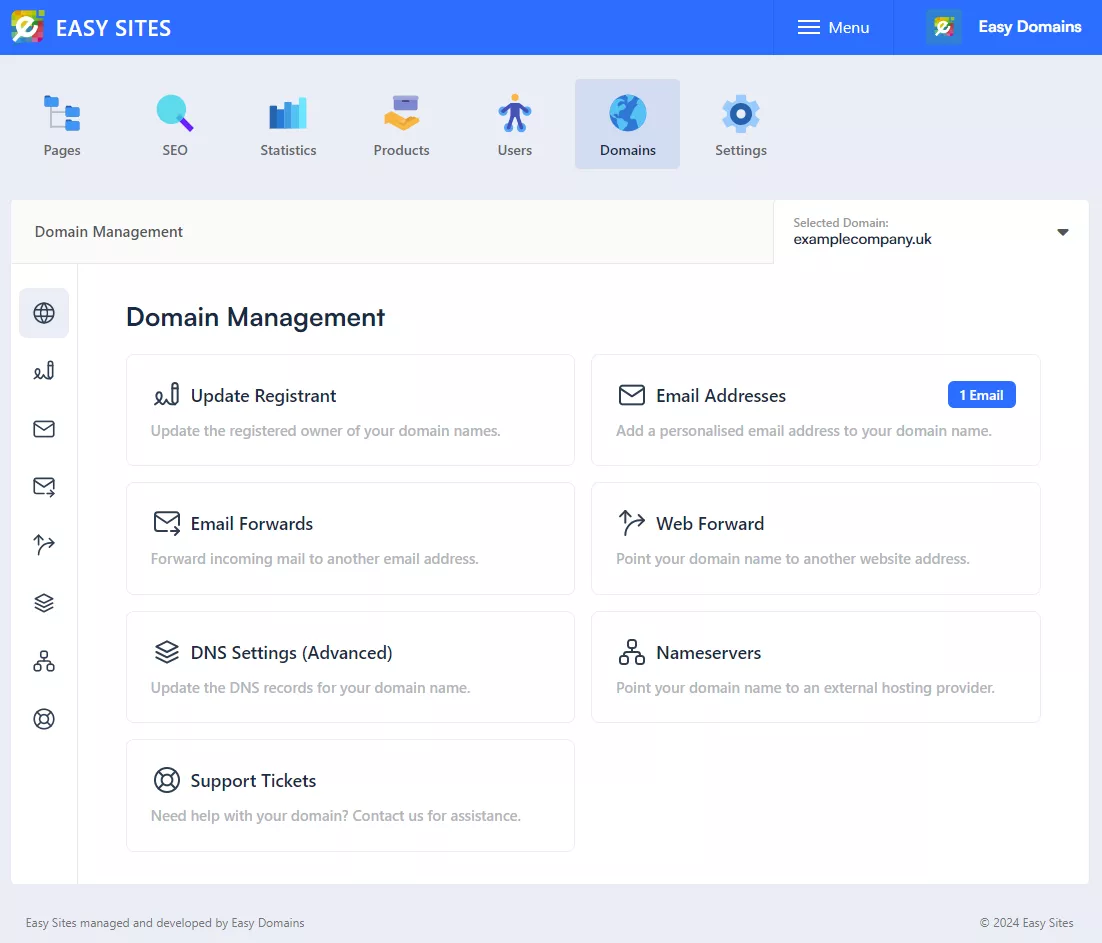
You should now be presented with a list of domains you have hosted with Easy Sites. Please click "edit site" (or "manage domain" if the domain has no website) on the domain you would like to make changes to.

Domain Management
From this next page, you will need to select the "Domain" tab, represented by the globe icon, from the top-centre and then "Email Addresses" from the menu on the left or from one of the centre blocks.
Creating Email Address
In this section, we will walk you through the process of creating the email address.
Start by entering the username of the email address you would like to create. The username is everything before the @ symbol. The @examplecompany.co.uk is automatically added and should not be entered manually.
Creating Password
Next, you need to create your email address password and type it again in the "Confirm Password" box. We recommend using a strong unique password which hasn't been used for anything else. You will need to meet the minimum password strength to continue.
Completing Set-Up
Once everything has been entered successfully click "Create Email Address". Easy Sites will now set up your email address ready for you.
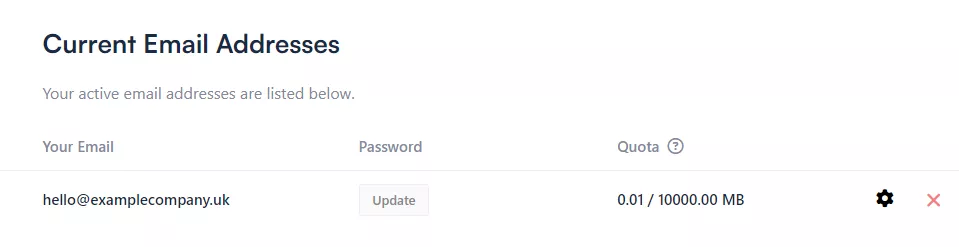
If the setup process was successful you will be brought back to a list of your active email addresses, including your newly created account.
Mail Client Settings
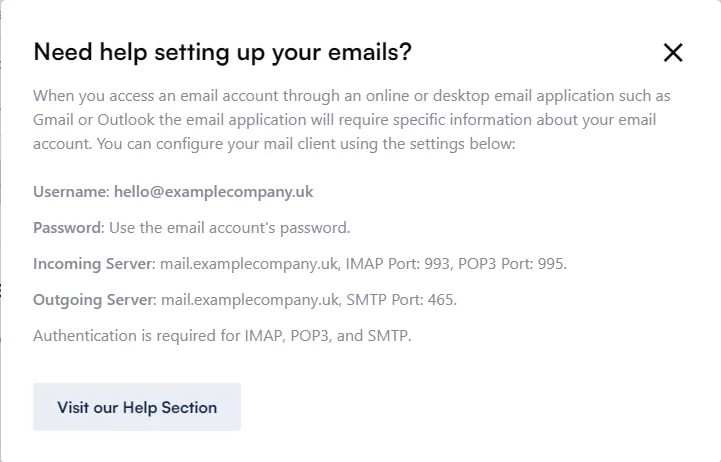
This email address is now ready to be set up in a mail client such as Gmail or Outlook. If you click the cog button next to the email address, a pop-up will open listing all the required settings to set up the email address in your chosen mail client. Please Note: The username is your email address. In this example the username is "hello@examplecompany.uk".
Should you need further assistance, there is a "Visit our Help Section" button in the bottom left linking to our email tutorials.
Need Help?
If you have any problems following this guide, please contact our team here.