
This guide will walk you through how to add your own legal documents on your Easy Domains website.
Your Easy Domains website will automatically have some default legal documents published as part of the website. These are the Terms and Conditions, Privacy Policy and the Cookie Policy. However, if your business has a bespoke Policy which you would like to use, here's how to upload it:
Default Documents
Disable the default legal documents
First, please follow this tutorial here to disable the default legal documents.
Adding Own Documents
Adding your own legal documents
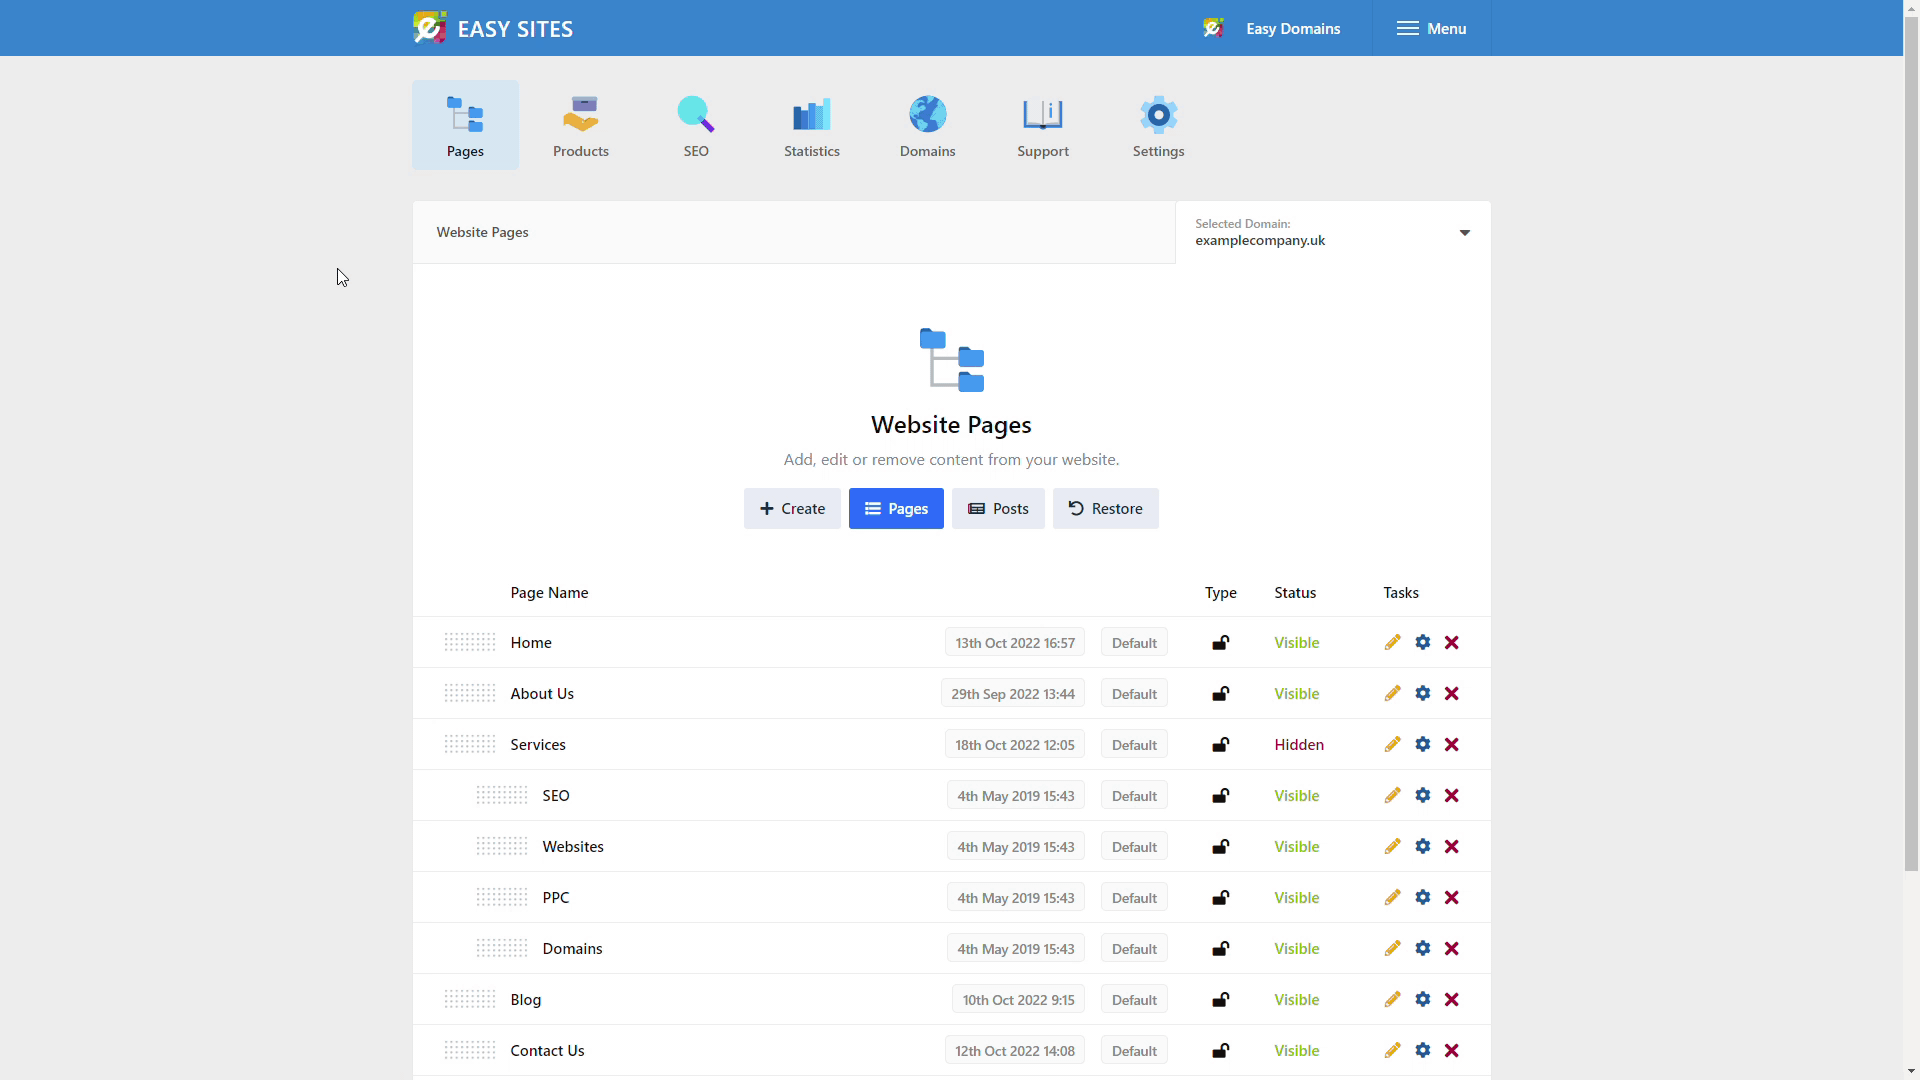
After removing the default documents, please navigate to the "Pages" of your website, as represented by the icon on the upper left hand corner of the screen.
Footer Navigation
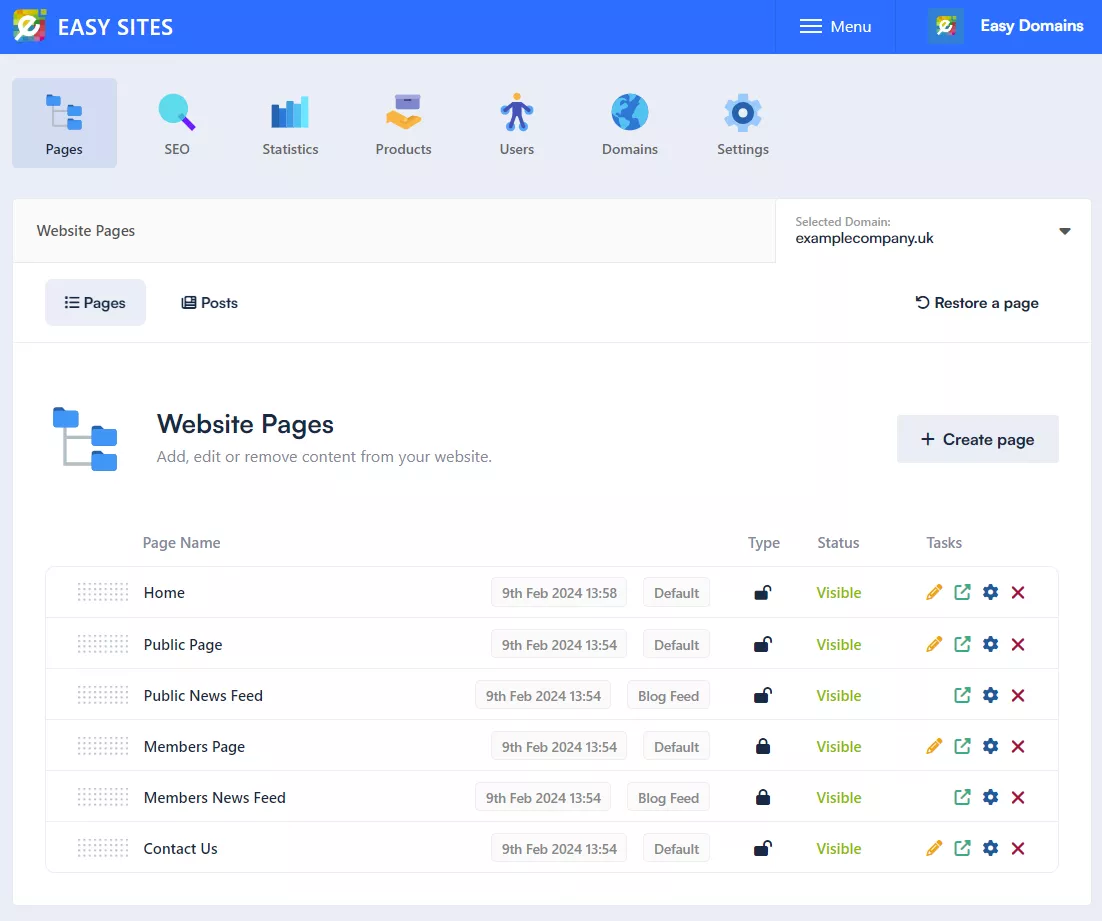
Here you will be presented with a list of the current pages on your website. Please click on the "Create Page" button in the center of your screen.
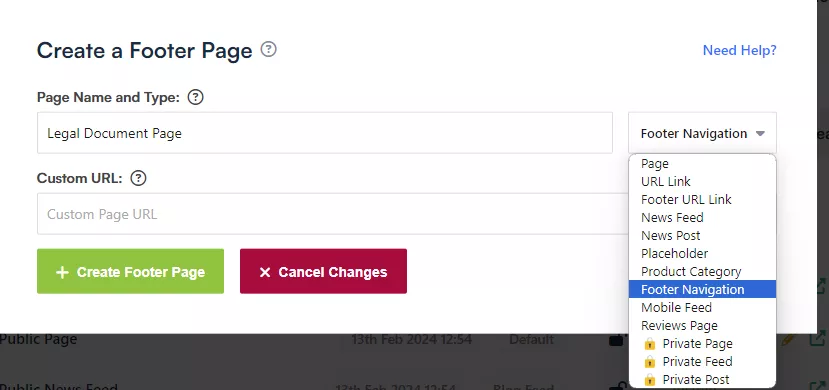
The pop up window will then ask for the page title and other information. Before you enter any of this information, please ensure to change the page type to "Footer Navigation".
Saving Changes
After changing the page type, you can enter the name of your Policy in the following fields: "Page Name and Type" and "Page Title". We recommend naming them "Terms and Conditions", "Privacy Policy" and "Cookie Policy" respectively to avoid any potential coding errors.
You can then create the page and edit it in the Easy Sites Editor by clicking the orange pencil icon. Please don't forget to save the changes in the editor for it to be effective.
Need Help?
If you have any questions or would like more information regarding this guide or using Easy Sites, please simply get in touch here.