

Logging In
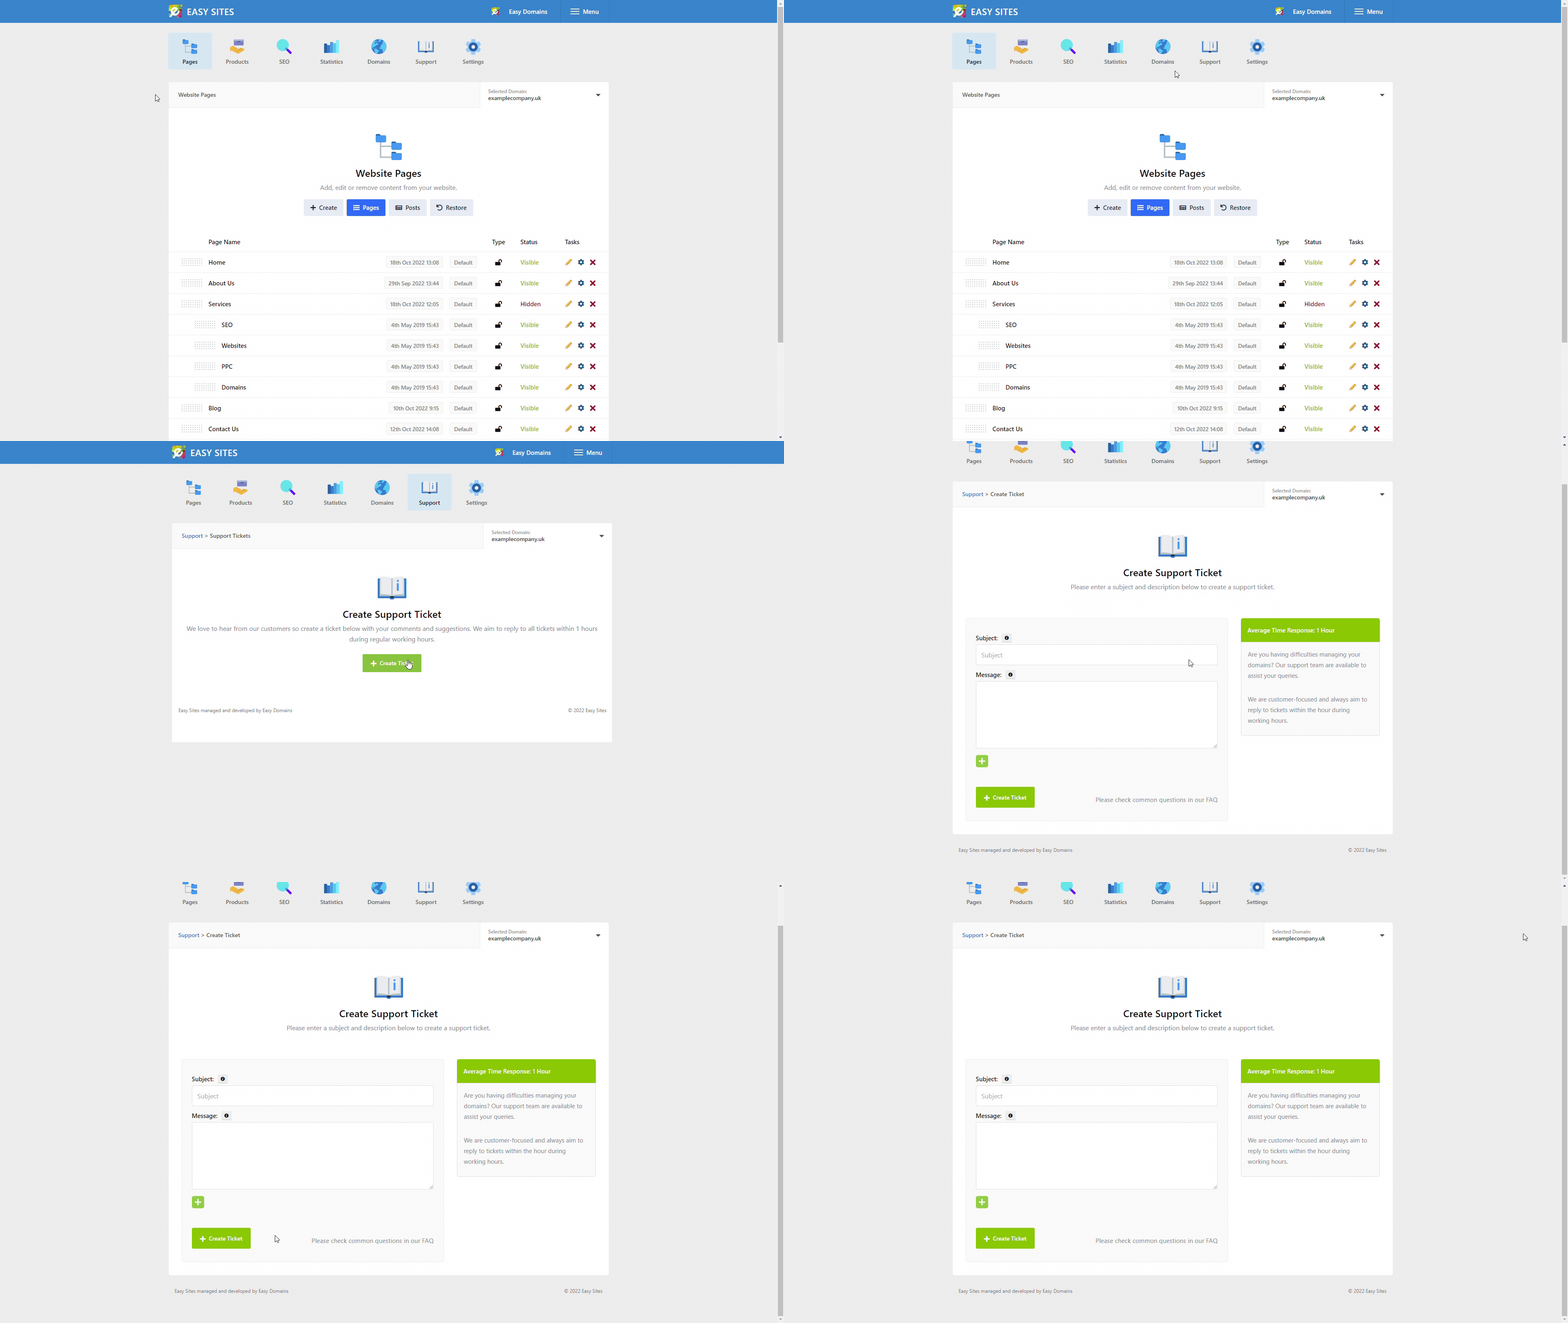
Start by signing in to your Easy Sites account. If you need help retrieving your login details, please contact us or follow this tutorial if you have forgotten your password.
After successfully logging in, please select "edit site" to alter any website you hold with Easy Sites.

Domain Tab
From the main navigation bar, select the "Domain" tab, represented by the globe icon.
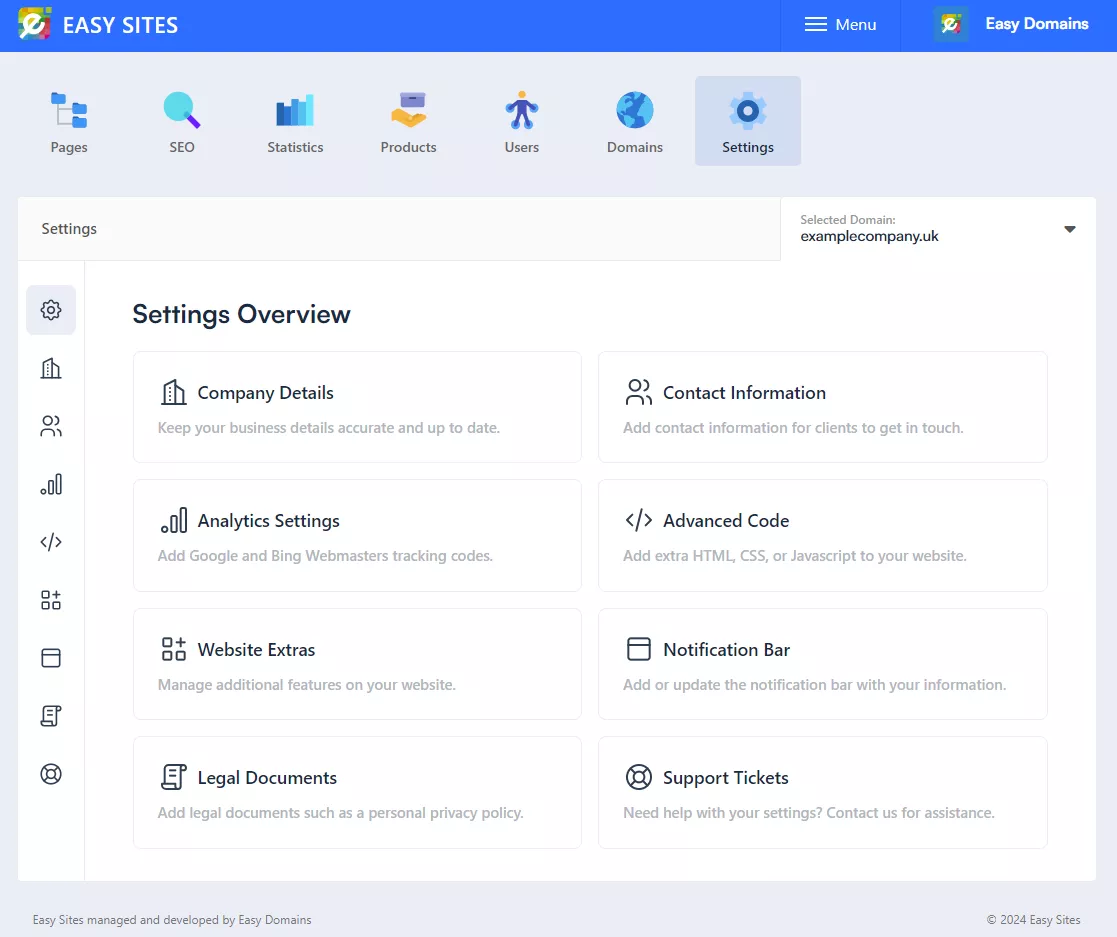
Next, select the "Support Tickets" section via the main dashboard or the menu on the left hand side of your screen.
From the next screen, you can see your existing tickets and their current status. If you have never raised a ticket before, you should see the following screen.
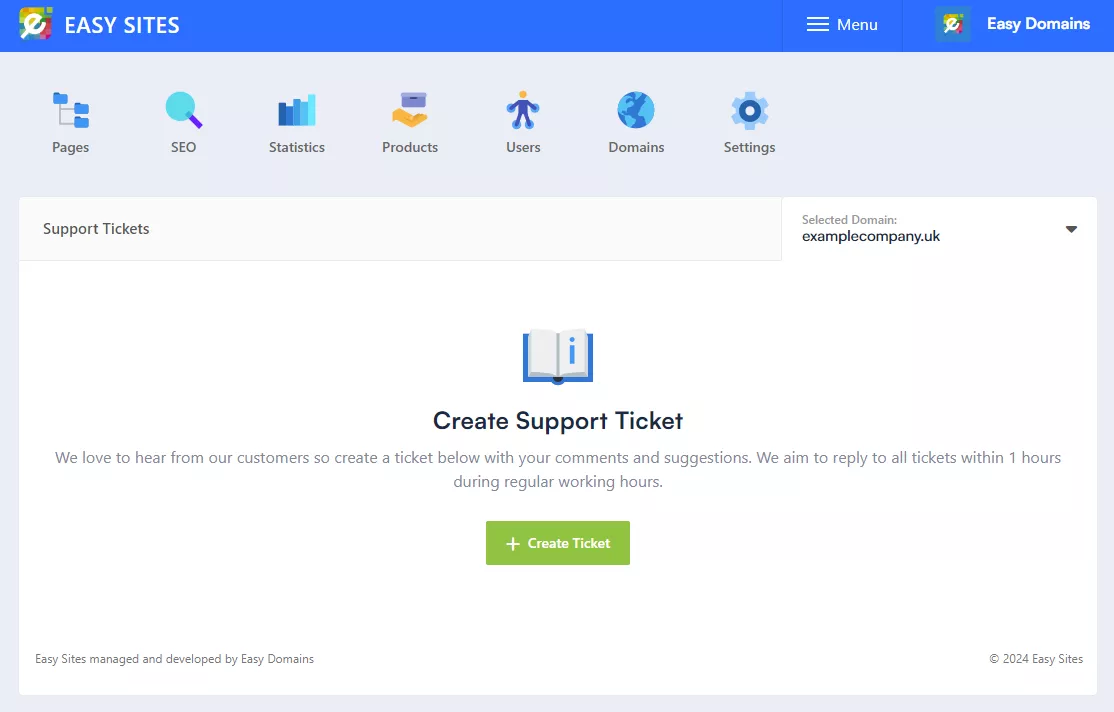
Click on "+ Create Ticket" to continue.
Creating Support Ticket
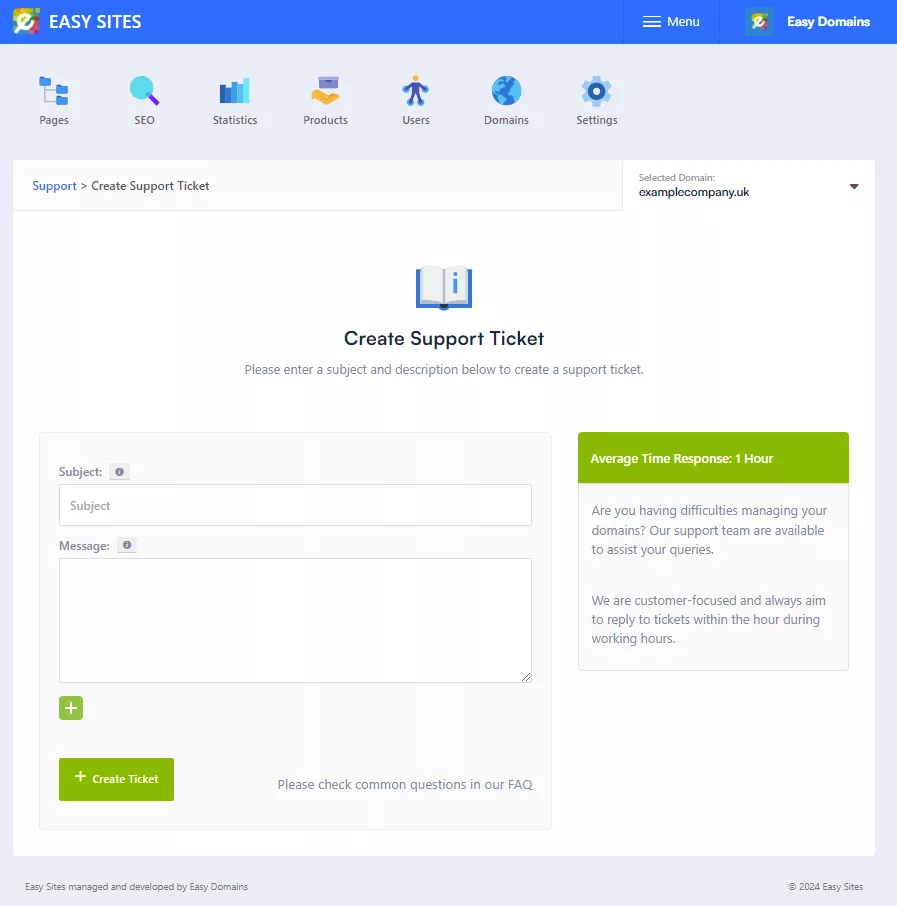
You can now fill out the contact form by entering a subject, a message and add any further attachments, like a screenshot as evidence, via the "File upload" link. Then click the green "Create Ticket" button.
What Happens Afterwards?
Our team will reply to your ticket as soon as they can.
Your tickets can be managed from within Easy Sites in the same section found in step 2 (> Domain Tab > Support Tickets). Our responses will also be sent to the email address tied to your Easy Sites account.
You can update a ticket through the ticket in Easy Sites or replying via your email address, which will update the ticket correspondence in Easy Sites.
Need Help?
If you have any problems following this guide or require any further information, you can contact us here.