
Logging In
Start by signing in to your Easy Sites account. If you need help retrieving your log in details, please contact us or follow this tutorial if you have Forgotten your Password.
After successfully logging in, please select "Edit Site" to alter any website you hold with Easy Domains.

Products Menu
You will be redirected to the default "Pages" screen. Hover your cursor over the "Products" tab and click it to open the product screen.
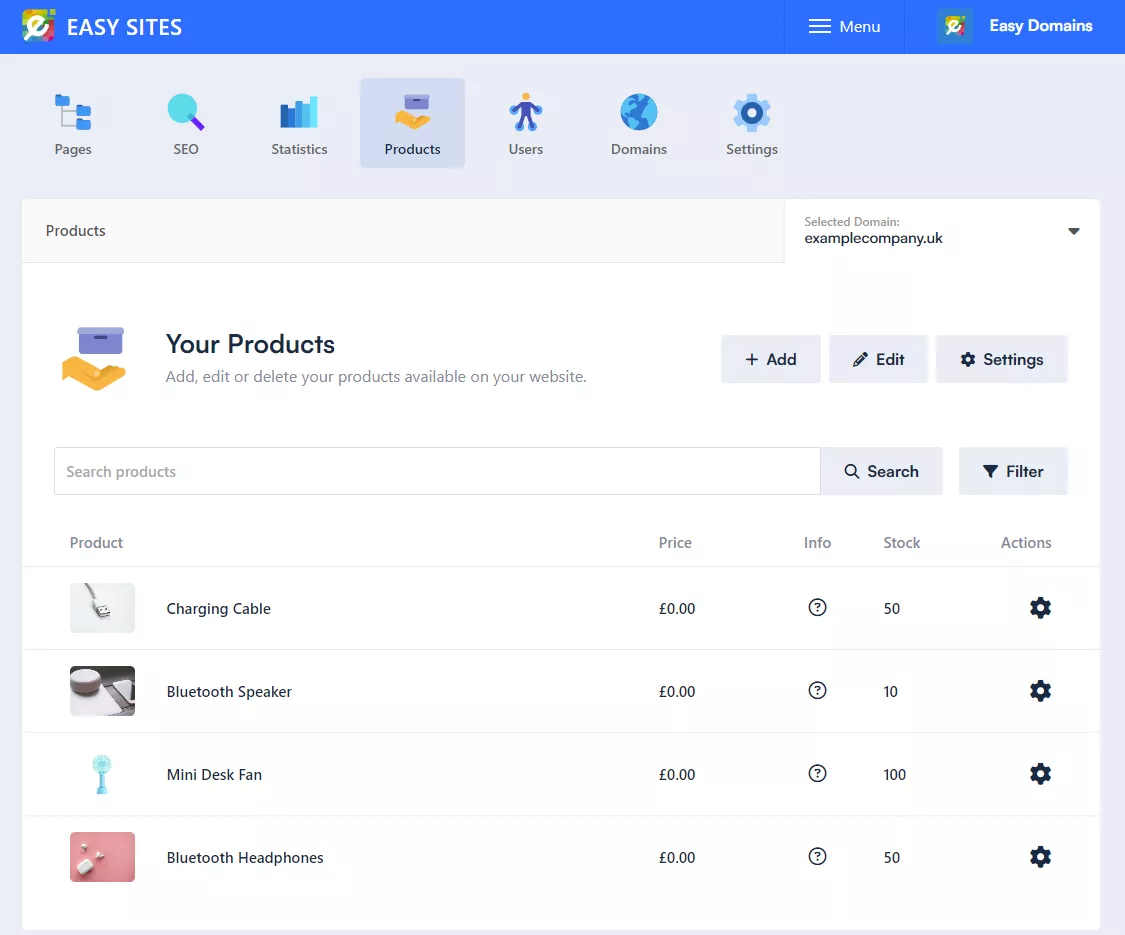
From this screen, you can edit various aspects of your products.
First: Add the category relevant to the products you wish to add. For example, Bluetooth Headphones would be added under the category Technology.
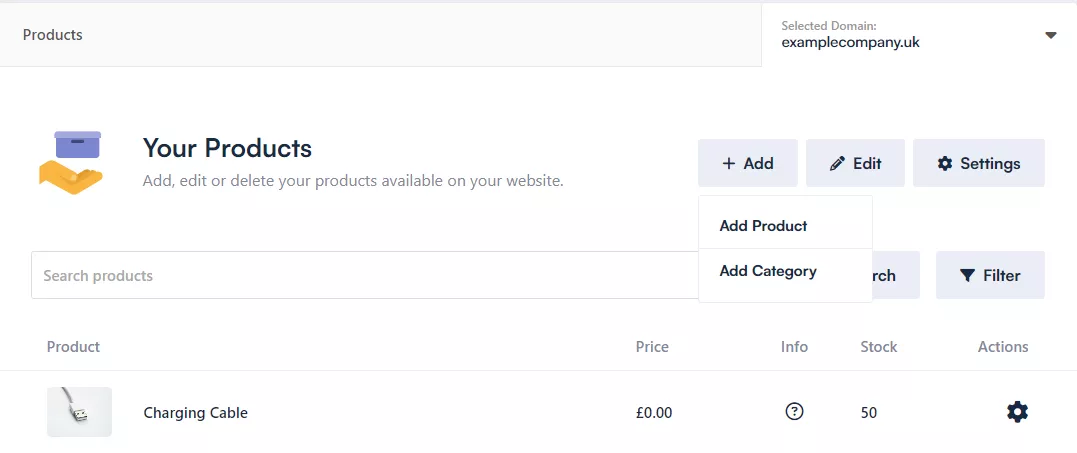
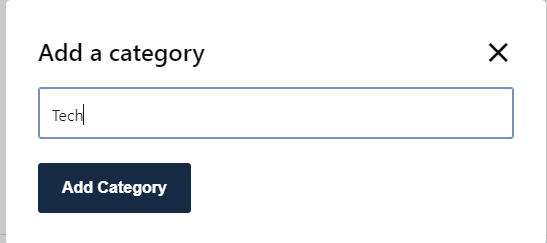
To do this, click the ADD box. This will give you two options: Add Category and Add Product. Click Add Category first. Once you have created a category, click Add Product. If the category already exists, you can go straight to Add Product.
Adding Product Info
Next, click Add Product. This will take you to the Product Information screen.
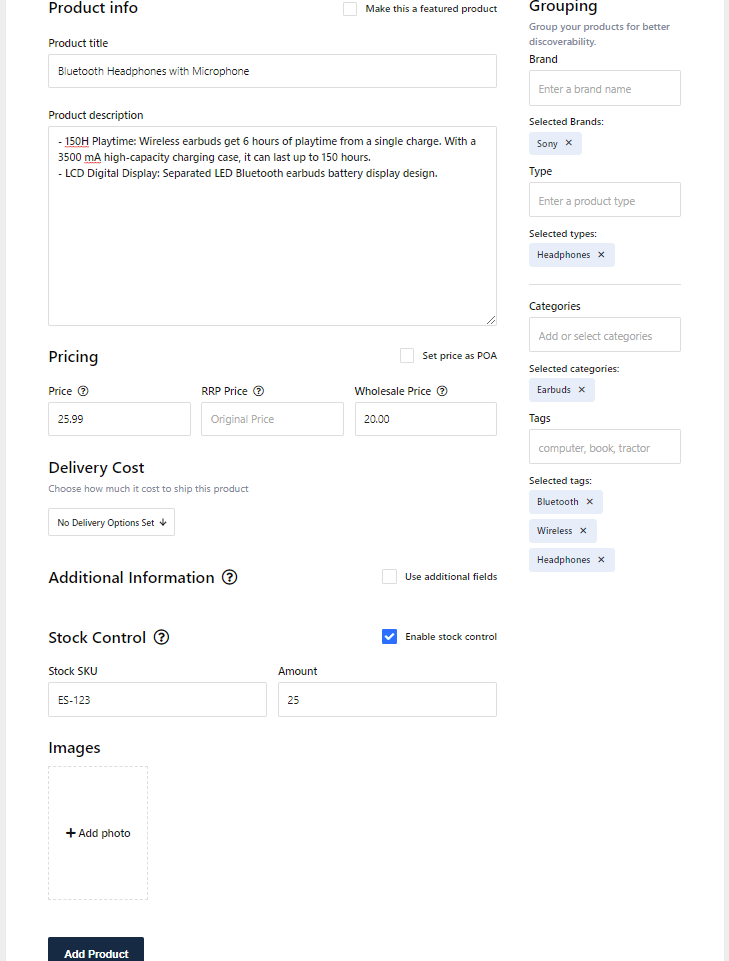
1: Add the product title, for example Bluetooth Headphones.

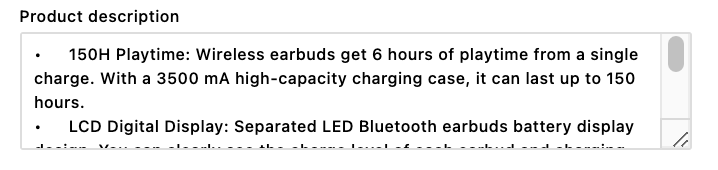
2: Add a description of your product.
3: Add the price of your product. This is split into three fields: the selling price, the wholesale price and the RRP (recommended retail price).

Categorising Products
Now you need to group your product on the right-hand side of your screen.

1: Add your product brand, for example Sony. Once added, press ADD.
2: Add your product type, for example Headphones. Once added, press ADD.
3: Add the category your product belongs to, for example Technology. Once added, press ADD.
4: Add tags to help filter your product, for example Bluetooth, Wireless and Headphones. Add each tag separately.
Once you have added a brand, type, category or tag, it will be saved and can be reused on future products. As you begin typing, matching options you have already created will appear, making it quicker and easier to categorise additional products.
Featuring Products
If you would like to make your item a featured product, tick the Featured Product box at the top of the page. This is useful if the item is on offer, newly added or one you would like to promote.

Delivery Cost
To set the delivery cost for your product, use the Delivery Cost dropdown when adding or editing a product. This dropdown will display any delivery options you have already created, such as Free Delivery or Express Delivery. Simply select the option that applies to that product.

If you have not yet created any delivery options, click the settings cog within your shop settings. From here, you can add the delivery name, enter the price and choose whether it should be the default option automatically selected when adding new products.

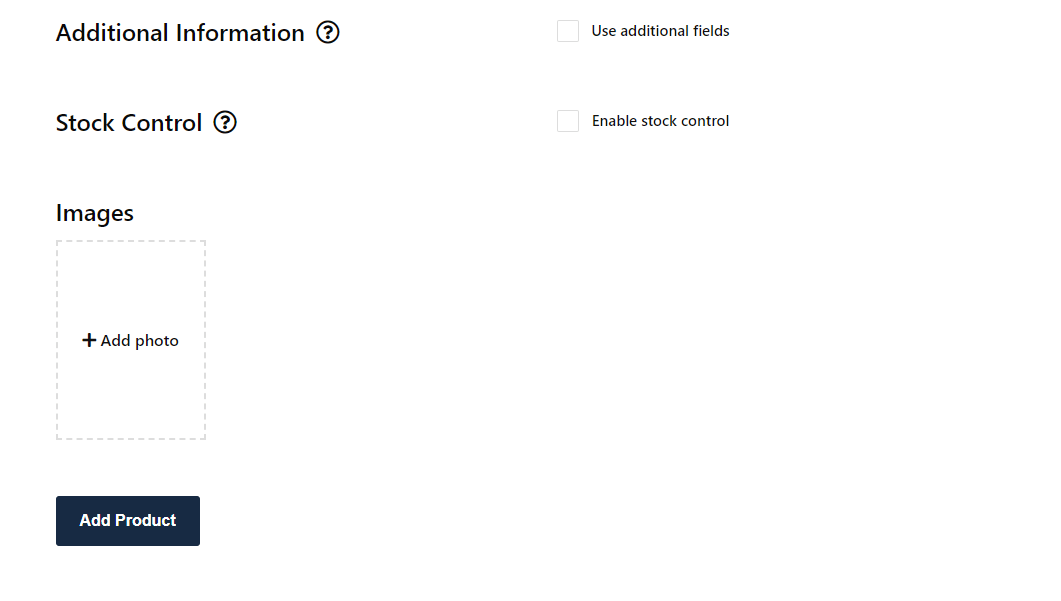
Additional Information
If you would like to display extra details about your product, tick the "Use Additional Fields" box. This allows you to create custom fields for your product information.
You can enter a field name and a field value for each item. For example, you may wish to add information such as Wheel Type: Round or Size: Small.
To add more fields, click the Add Additional Field button. These details will then be displayed alongside your product on your website.

Product Pricing
If you would rather your customers contact you regarding prices, tick the POA box.
Adding Product Image
Add an image of your product. Once your image has uploaded, click the ADD PRODUCT button at the bottom left-hand side of your screen. This will take you back to the main product page.
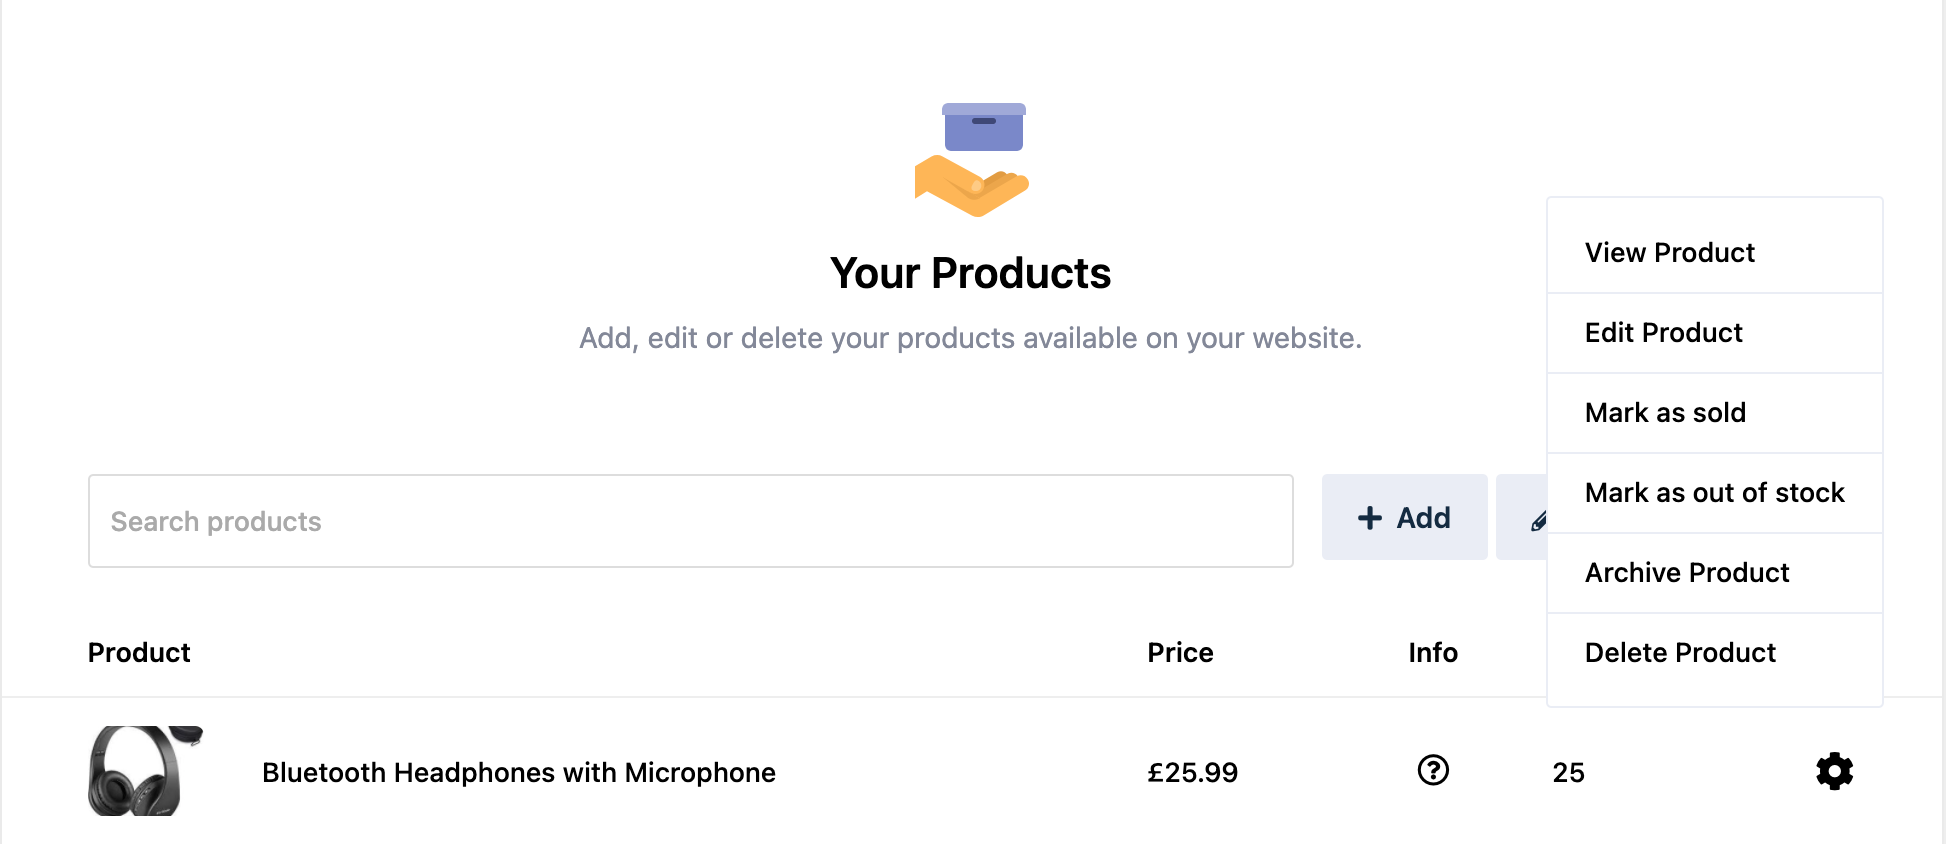
Once you have added your products, you can edit them at any time by clicking on the settings cog next to the product on the main page. This will bring up a menu with options such as Edit Product and Mark Out of Stock.
Need Help?
If you have any problems following this guide or wish to speak to us about adding a product to your website, please contact our team here.